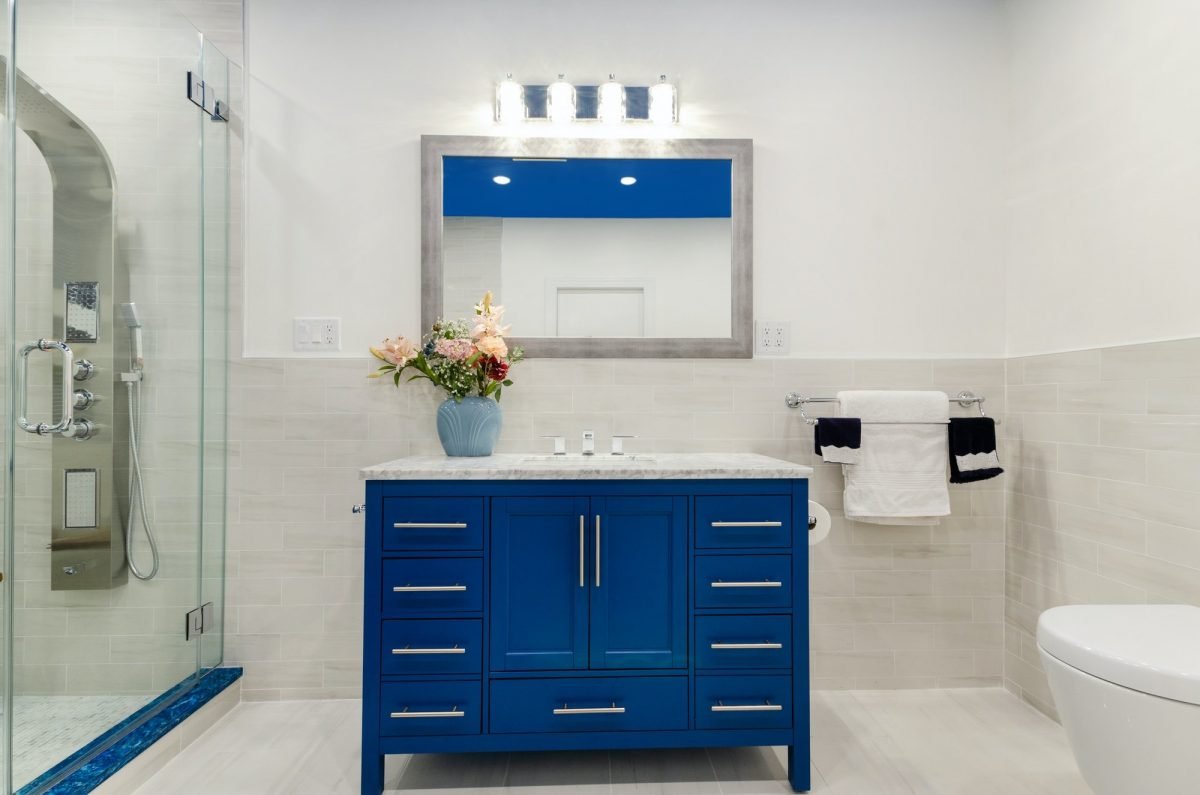
Have you thought about painting bathroom vanity cabinets for your home? Adding bespoke vanities to a bathroom can be a dream come true, but the cost can be more of a nightmare. Fortunately, you don’t have to undertake a lengthy and costly project to give your bathroom a new look if you do painting on bathroom vanity cabinets.
The easiest and most cost-effective way to renovate a bathroom is to paint bathroom cabinets. The transformation of a vanity cabinet can be unique, and painting bathroom vanities with Fusion Mineral Paint is both long-lasting and straightforward.
In only a few days, you can update your bathroom vanity with a colorful paint job without any demolition. We’ve got everything you need to know about painting bathroom cabinets with Fusion Mineral Paint if you’re planning to do it yourself! Follow along, and you’ll be ready to tackle your DIY project in no time.
Getting Started with Painting Bathroom Vanity Cabinets
Does Fusion Mineral Paint Need a Primer?
There is no need for a primer or topcoat, making it one-step paint. Fusion is self-priming, which means it will stick to raw wood pores and fill them in, making it uniform and ready for the second coat of paint.
Fusion is created entirely of the highest quality acrylic resin available. As a result, your work will have a consistent, coherent, and long-lasting surface.
Does Fusion Mineral Paint Need a Top-Coat?
Fusion Mineral Paint contains a built-in primer and topcoat, which most tasks require when painting a clean and sound surface.
In projects such as bathroom vanity cabinets exposed to water or having a lot of water ware, you should seal your work with Fusion’s Tough Coat.
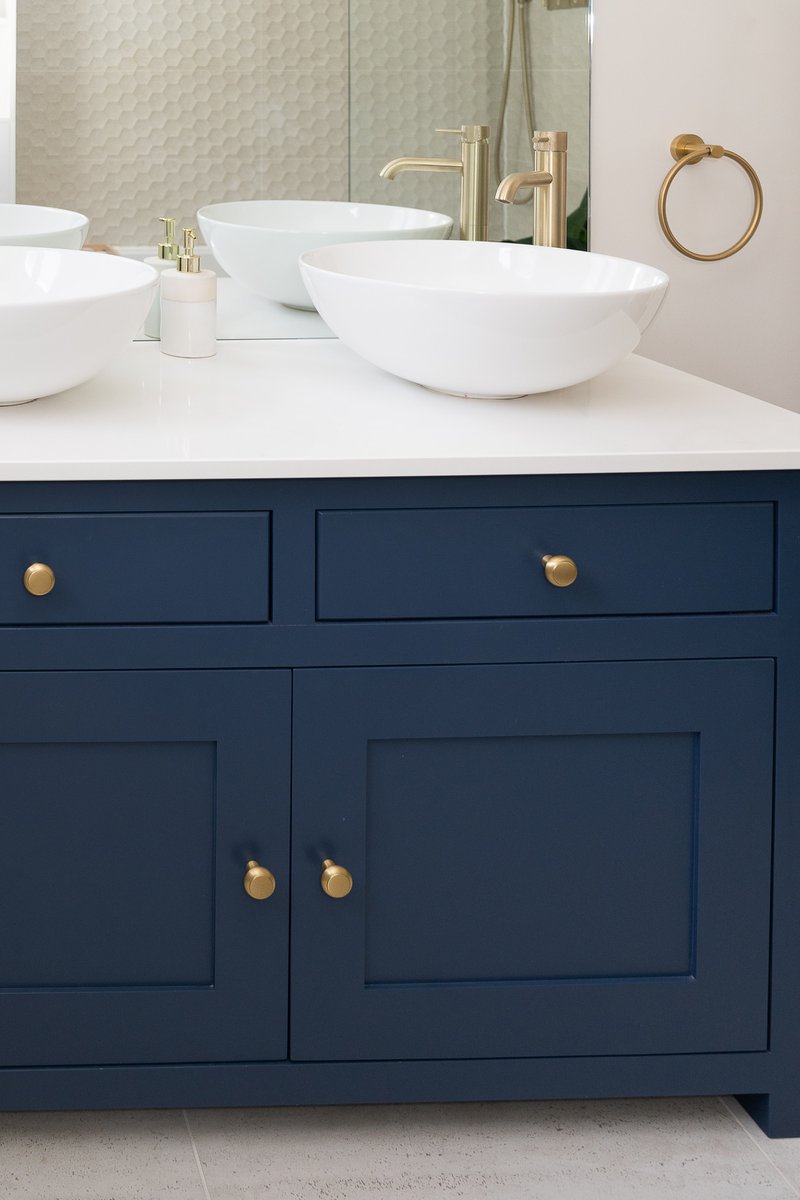
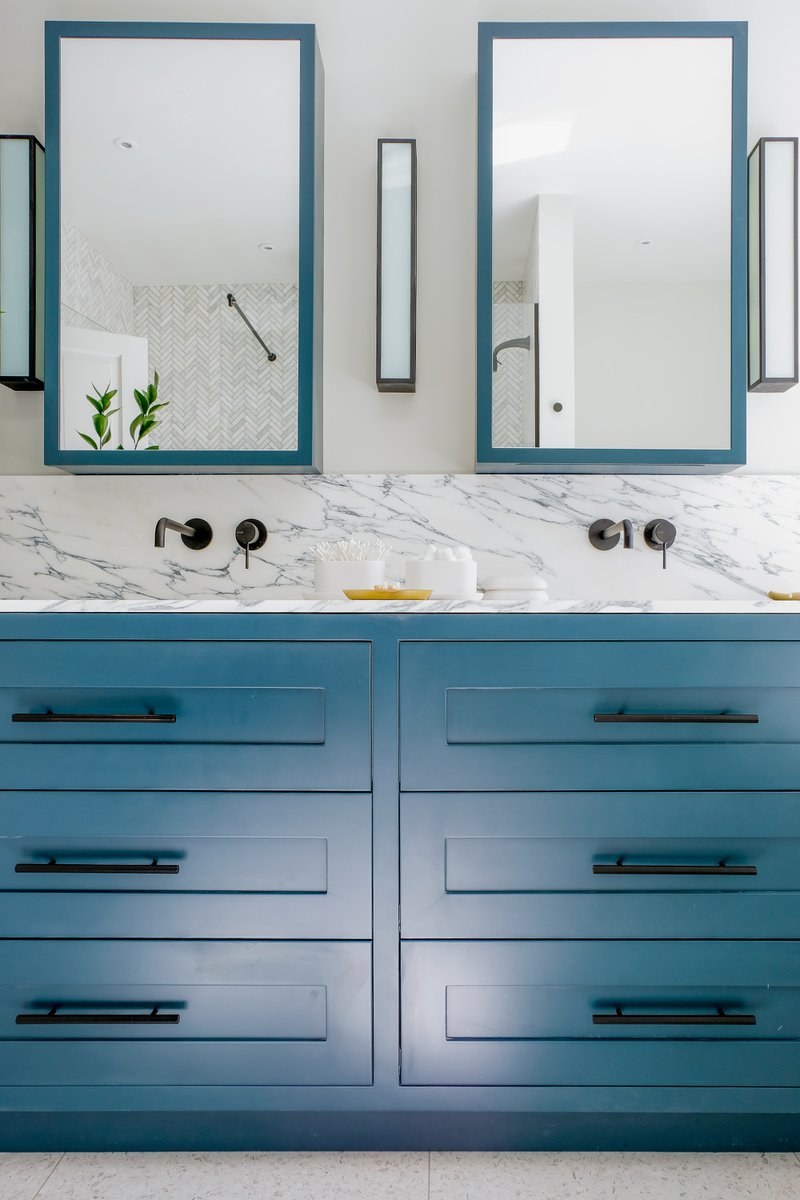
What Color is best for Painting Bathroom Vanity Cabinets?
Fusion Mineral Paint has a collection of color options you can choose from. The choice of color for your vanity cabinets will directly depend on your overall bathroom color scheme.
Our website features the Fusion Mineral Paint color collection, which helps you to make the best choice for the bathroom vanity cabinet transformation of your dreams.
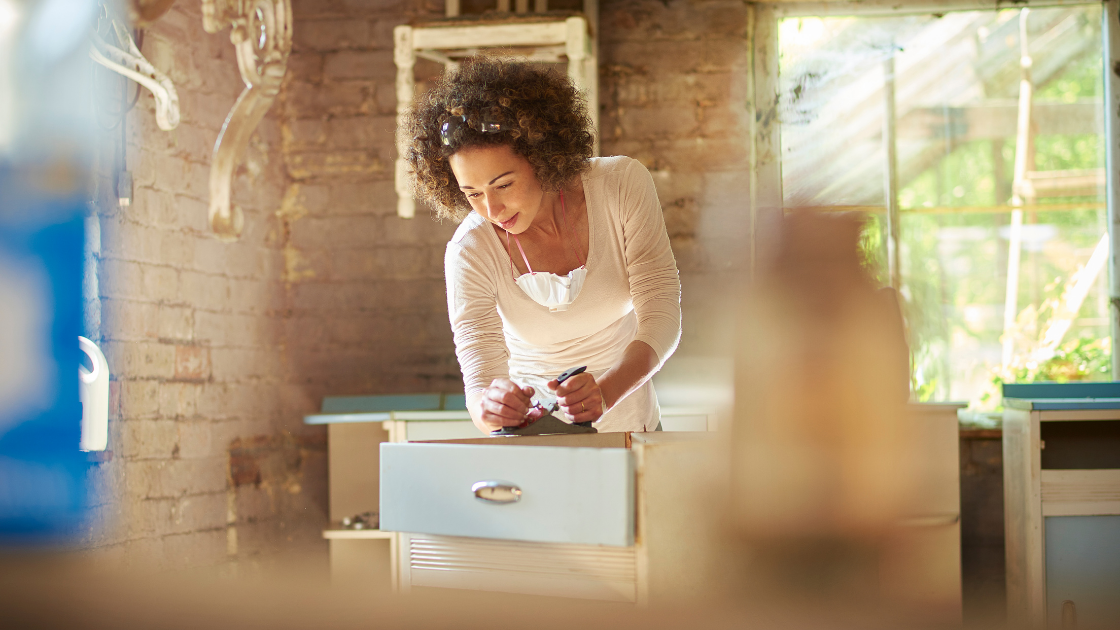
Now that you know all of the essential things mentioned above, you don’t need to be an expert to paint your bathroom cabinets. All you have to do now is follow the steps outlined below. It’s easy to accomplish, affordable, and doesn’t take long at all.
Supplies You’ll Need
- Fusion’s TSP Alternative
- Fusion Paint (your preferred color)
- Staalmeester Paint Brush Essential Kit
- Beeswax Distressing Block
- Fusion’s Tough Coat (Gloss or Matte)
- Drop Cloths
- Painter’s Tape
- Marker
- Sanding Paper (preferably 220-grit)
- Screw Driver or Cordless Drill
- Putty Knife
- Wood Putty
Let’s Get Prepping!
Step 1: Preparation is crucial, as it always is. Take everything out of the cabinets and drawers.
Step 2: To avoid getting paint on your floors, place drop cloths around the work area.
Step 3: Tape any surfaces you want to protect with painter’s tape, such as the joints between countertops and cabinets.
Step 4: Tape the interior of each cabinet door and drawer with a small piece of painter’s tape. Each piece should be labeled to indicate which cabinet it belongs in.
Step 5: Remove the doors and hinges from the cabinets with a screwdriver or drill.
If possible, remove the drawers first and then the drawer fronts from the drawer boxes. If removal is impossible, keep the fronts attached and mask off the boxes’ fronts.
Let’s Get Painting!
Step 1: Clean the Cabinets
To remove any grease and grime, use Fusions TSP to clean the outer surfaces of the cabinet boxes, doors, and drawer fronts. Clean the cabinet interiors as well if you’re painting them.
Step 2: Patch and Sand the Cabinets
Look for nicks and dings in the cabinet boxes, doors, and drawers. Repair any damage with a putty knife and wood putty. Allow the putty to dry after smoothing it with the knife, and then sand it smooth using 220-grit sandpaper. Lightly sand the outside of the cabinets, including the doors and drawer fronts. This method will help in the adhesion of the paint to the surface.
To remove dust, wipe the surfaces with a damp cloth. After the cabinets have dried, wipe them down with a tack cloth to ensure an ideal consistency.
Step 3: Use Beeswax Distressing Block
If you’ve used Fusion before, you know how tough it is once it dries, and having to distress it can be difficult. It’s a lot easier if we use the Beeswax distressing block over the parts we wish to distress later.
Press the wax block where you want the distressed antiquing finish between layers of paint to place distressed lines and edges precisely. Any paint applied beneath the wax will stay there, while any color applied on top of the polish will come off quickly, resulting in the perfect distressed look.
Step 4: Apply First Coat of Paint
Apply the first coat of fusion mineral paint on doors, drawer fronts, and cabinet boxes with a Staalmeester brush with the color of your choice.
Remember to paint both sides of the doors; it’s usually easier to paint the fronts first and then the backs later. Allow the paint to dry as directed before applying your second coat if you want n even better coverage.
Step 5: Apply Second Coat of Paint (optional)
Once the first coat is dried up, you may now apply your second coat of paint.
When you apply the second layer, it’s almost magical. Complete and total coverage!
Step 6: Apply Top Coat
When your paint is dry, distress the areas you rubbed with the Beeswax block with your sanding sponge or paper.
Water-intensive projects require a topcoat. The matte or gloss versions of our Tough Coat wipe-on poly are ideal for lighter colors such as Champlain. Apply with an applicator pad or a sponge, and add multiple coats for increased protection.
We recommend our Natural Stain and Finishing Oil if you’re working with a mid-to-dark color.
Step 7: Reassemble the Cabinet
Reattach the old hardware and replace it with new ones. Reattach the drawer fronts to the drawer boxes if you’ve removed them, and then attach the doors to the cabinet boxes. Slide the drawers back in place, and you’re all done!
Let’s Have Fun Painting Bathroom Vanity Cabinets!
Fusion Mineral Paint can easily create a bespoke bathroom vanity for a fraction of the cost. With the proper knowledge and guide, you can create your DIY project in no time!
At A Place Called Home GA 2 can give you more Fusion Mineral Paint articles that will help you get started with your dream room transformation. Let’s get painting!


2 Responses
Are there any on line classes. I have 4 med to large dressers plus two night tables 4 drawers each. I’d like to do them in a white w a slight hint of blue possibly. Never did this. It’s good furniture don’t want to buy new stuff when I can paint these.
Hello Alice!
Unfortunately I do not have online classes yet but I would be more than happy to have a phone consultation with you. Email me at Gaynelle@APlacecalledhomega.com and let’s get you started.