
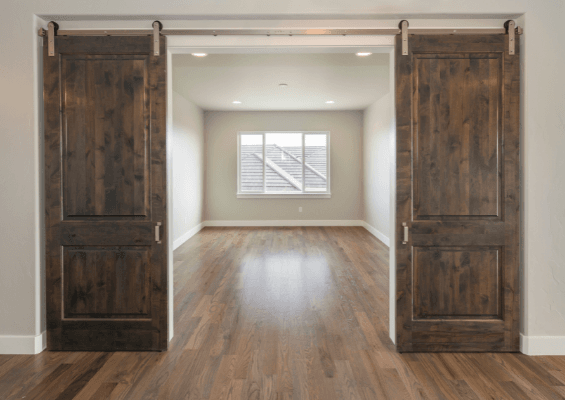
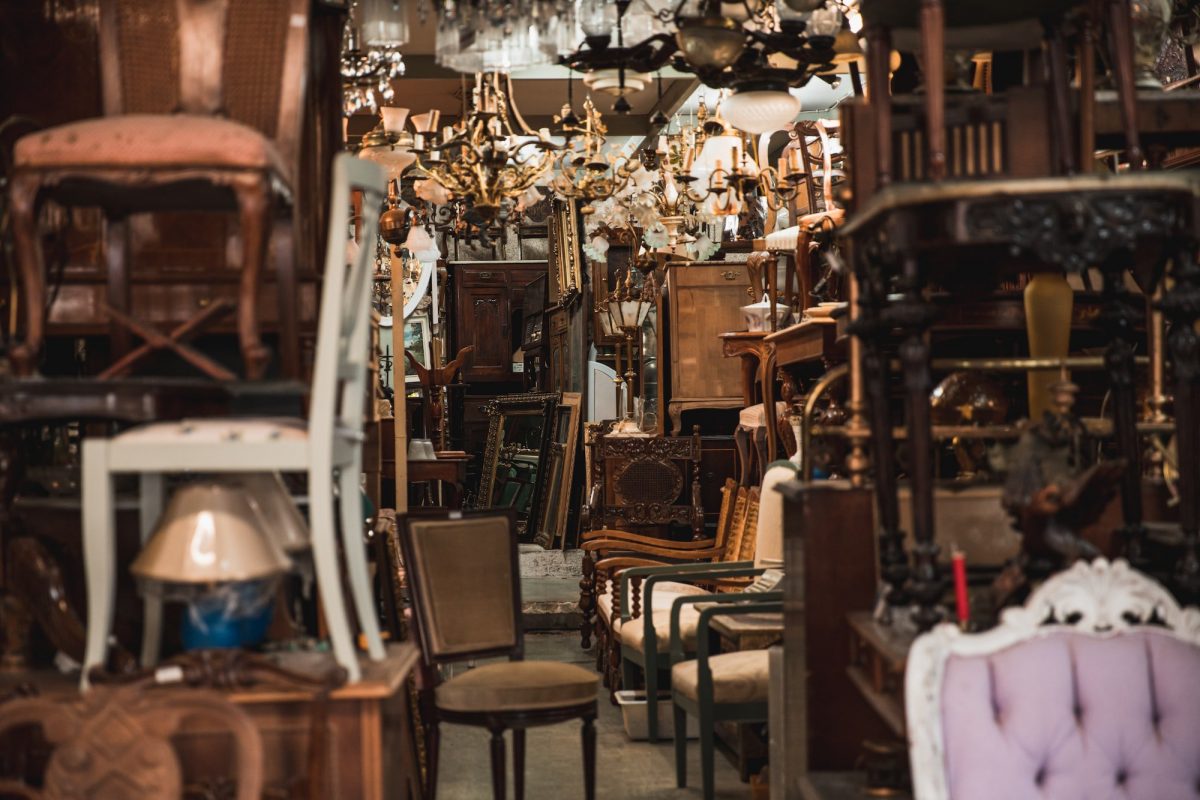
Did you know that DIY painted barn doors are way better than conventional doors? I mean, who doesn’t love having them at home? It’s not just beautiful but practical at the same time. It doesn’t take too much room, and its cozy and stylish look adds to your interior home decor. Buying authentic barn doors from old barns can be expensive, and they’re also hard to find. So, if you don’t have the extra cash to spare, buying one may not be an option for you.
But, don’t worry! You can start making DIY barn doors if you want a customized one for your home. It’s easy to make, and the materials won’t cost too much, which can help you save money. Plus, there are many barn door ideas you can choose from, from classic white design to a rustic look or a modern look to go with the current trends.
If you’re interested in making one, we will share with you a step-by-step guide on how you can make rustic DIY barn doors.
Tools Needed
- Router
- Wood Clamps
- Driller
- Tape Measure
- Other Common DIY Tools
Materials Needed
- 1-1/2-in. wrought-head nails
- Countersink bit
- Tongue and Groove Shiplap
- Pine Board
- Barn Door Kit (mount and rail system hardware)
- Chip Paint Brush
- Fusion Gel Stain & Topcoat – Double Espresso
Step 1: Measure Your Door Opening
Measure the outside dimensions of the door to determine the width and height of the door you want to be. The door opening is 4 ft. wide for any DIY barn doors. So the door size we will have is 4 ft. wide and 7 ft. tall.
Step 2: Assemble Your Boards for Your DIY Painted Barn Doors
Once you have got all the boards prepared according to the size you need, attach the shiplap planks flat together with the tongue and grooves and ensure that all the wood pieces are in position.
Then frame a 1 x 6 pine board on top of the shiplap after re-measuring it.
At this point, you may use wood clamps to hold all the pine boards together, and you may also want some diagonal pieces to add design to your barn door.
Secure the 1 x 6 pine to the shiplap by drilling holes with the countersink bit. Make sure to drill the frame just enough to see the heads of the screws.
Step 3: Fusion Gel Stain & Topcoat
Before applying stain or topcoat, you need to ensure that you properly prepare the doors for the wood to accept the product and have a nice even coat to achieve a flawless finish.
Pre-drill a hole in all the marked areas where you want to install your mounts.
Now that your door is well-prepped, you may now apply the fusion’s double espresso gel stain and topcoat to achieve a rustic look for your barn door. The double espresso gel stain has a rich and warm texture that is perfect for pine wood.
This Fusion Gel Stain is already a topcoat with added pigments at the same time. So, you don’t have to worry about any additional steps for a top coat to seal your door.
Stir the gel stain and topcoat thoroughly for about 5 minutes to ensure the even distribution of all the pigments from the bottom of the container. At this point, you may now start applying the gel stain and topcoat using a chip or synthetic brush.
Fusion’s gel stain and topcoat are brush-on, leave-on, oil-based products. Once you have already applied it, you don’t attempt to wipe it back. It will require an odorless solvent for cleaning, so make sure you will not use your best or most expensive brushes.
One coat of this product is already enough to give you a perfect finish, but you can add a layer of coat if you want to achieve a more opaque look. However, each layer of coat will take 8–12 hours to dry thoroughly.
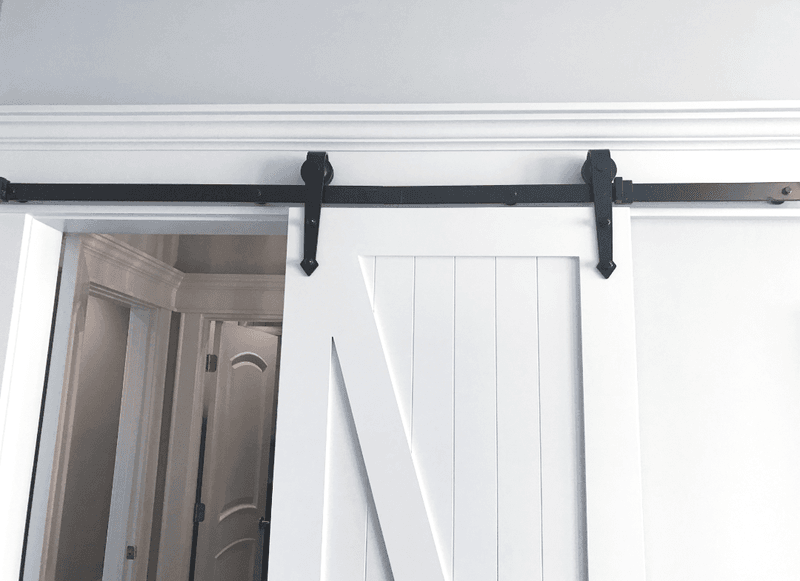
Step 4: Attach the Rolling Hardware
Attach the rolling hardware at the center width of the cedar stiles, but make sure that you remove the wheels first to attach them properly.
Drill holes into the filler-strip edge on your marked screw locations with a 1/8-inch bit, then screw the hardware in place.
Once the hardware is in place, replace the wheels, slip the track into their grooves, and determine how high you want your casing to mount by measuring the door and the track.
Step 5: Install the Track for Your DIY Painted Barn Doors
First, you need to attach a mounting board equal to the size of your tracks to have a slight elevation for them.
Level the mounting board above your door’s casing and drill pilot holes into your marked locations with a 1/8-inch bit, then secure it with 3-inch deck screws.
Mark two spots 3/4 inch above the casing on the mounting board, then lay the track flat against the board, bottom edge at the marks.
Please make sure you check its level, then go on and do all the finishing touches. Use a 3/8 socket wrench to thread the lag screws nice and tight. Ratchet the rest of the lags into place, and then you’re all good with the tracks.
Step 6: Hang Your DIY Painted Barn Doors
Once your track is mounted, you can finish the job by carefully hanging the door on the track and checking if it slides properly.
Determine where to place the stops, then install the end stops, bottom guides, and other remaining hardware needed according to its specific instruction manual to slide your door back and forth properly.
Get Started with DIY Painted Barn Doors Today!
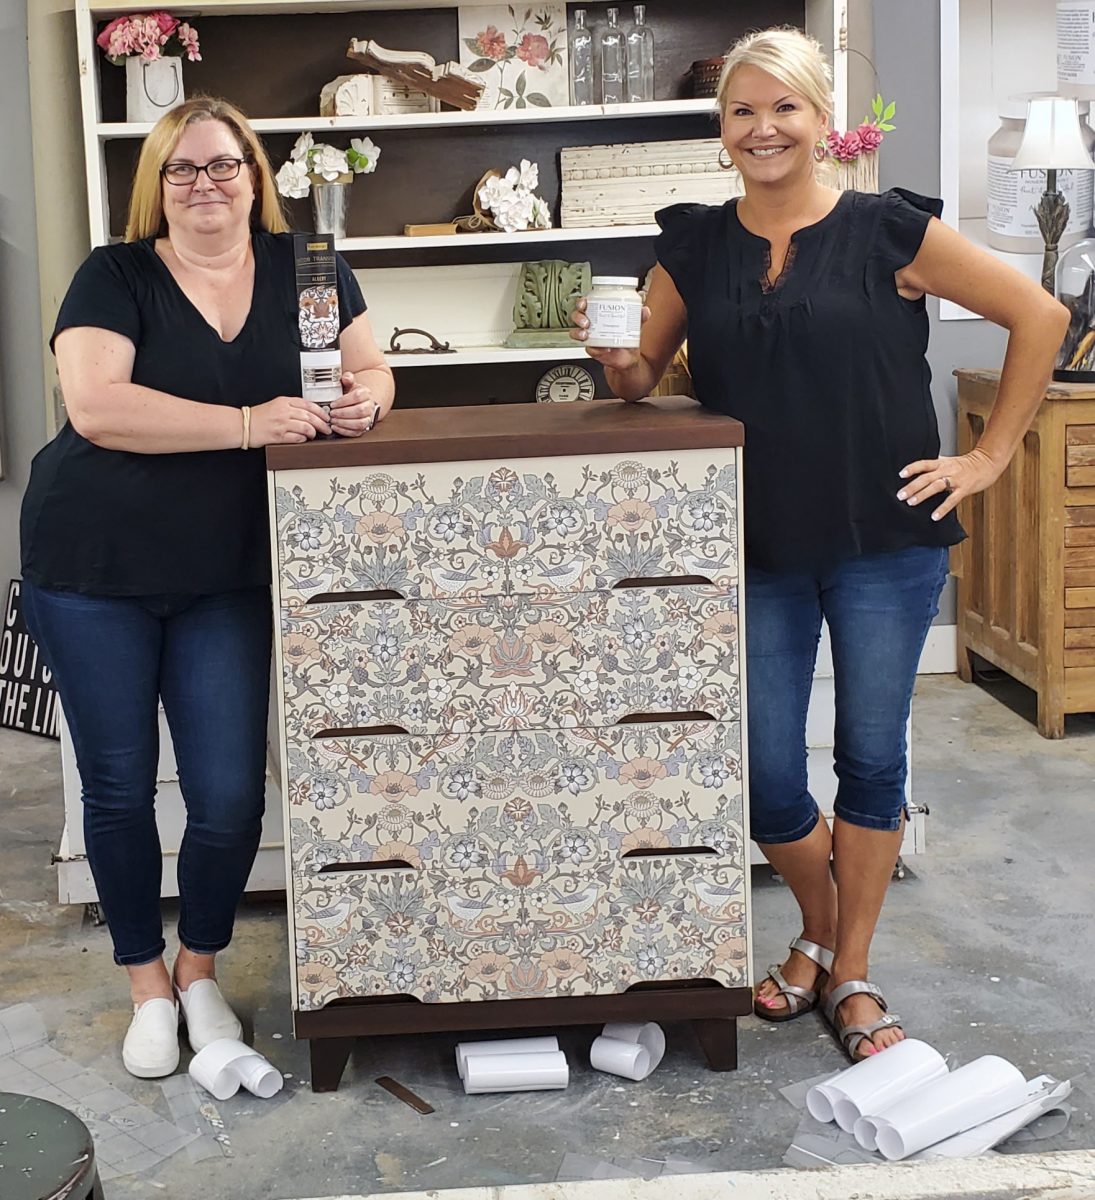
What do you think? Isn’t it easy to start some DIY painted barn doors for your home? As long as you have all the materials and tools you need, you can recreate this DIY project we shared with you or create a new one based on what you design. Use Fusion products like Gel Stain and Topcoat to achieve an even better finish.
Do you find this article helpful for you? You can explore our blogs for more furniture painting tips. We also have workshops that might interest you and a range of Fusion products that you can sue for your next DIY project.


