There are a lot of questions I get regarding how to use Fusion Mineral Paint and how to prepare the surface. As a result, I thought I would share with you how to use Fusion Mineral Paint from Prep to Finish!
One of the most important things I have learned is that the prep for your piece is so important to ensure that your piece will last you a lifetime. You should remember that if you’re new to painting furniture, you’re going to put a great deal of time and thought into each piece. Therefore, it is imperative to start with a clean, fresh canvas in order to achieve the best results.
We all want everything done as fast and easy as possible, and Fusion Mineral Paint is about as close to being the perfect product when it comes to achieving this! Despite the fact that Fusion Mineral Paint offers exceptional adhesion and durability, you always get what you put into it – and in this case, a great project starts with the right preparation!
There is no doubt that self-education and understanding of how paint works plays a vital role in the process, and it begins with preparing the surface.
The finish of your project is directly related to the surface you choose. It is important to keep in mind that the paint will only be as stable as the current surface you are painting. There can be no cutting corners if you are working with a glossy surface, has previously been lacquered, or has wax finish on it. There is absolutely no way around this, to get the best finish possible, you need to prep your work properly.
I can tell you from experience as a professional that unless I take the proper measures for prepping these types of surfaces to safely paint, they will be problematic.
STEPS TO USING FUSION MINERAL PAINT FROM PREP TO FINISH
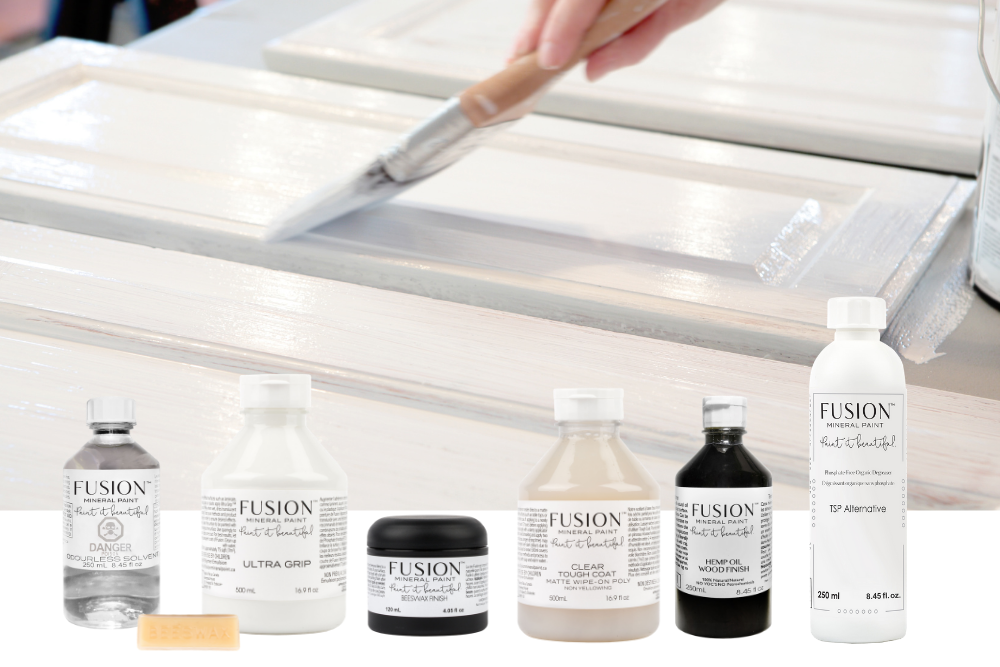
Supplies needed:
● FREE – How to Use Fusion Mineral Paint From Prep to Finish Printable
● Fusion Paint Color of Choice
● Fusion Mineral Paint – TSP Alternative
● Beeswax Stick – If you want to distress your piece
● Ultra Grip
● 220 grit Sandpaper
● Microfiber Roller & Refill
● Transition
● Beeswax Finish
● Hemp Oil Wood Finish
● Tough Coat Poly Wipe-On
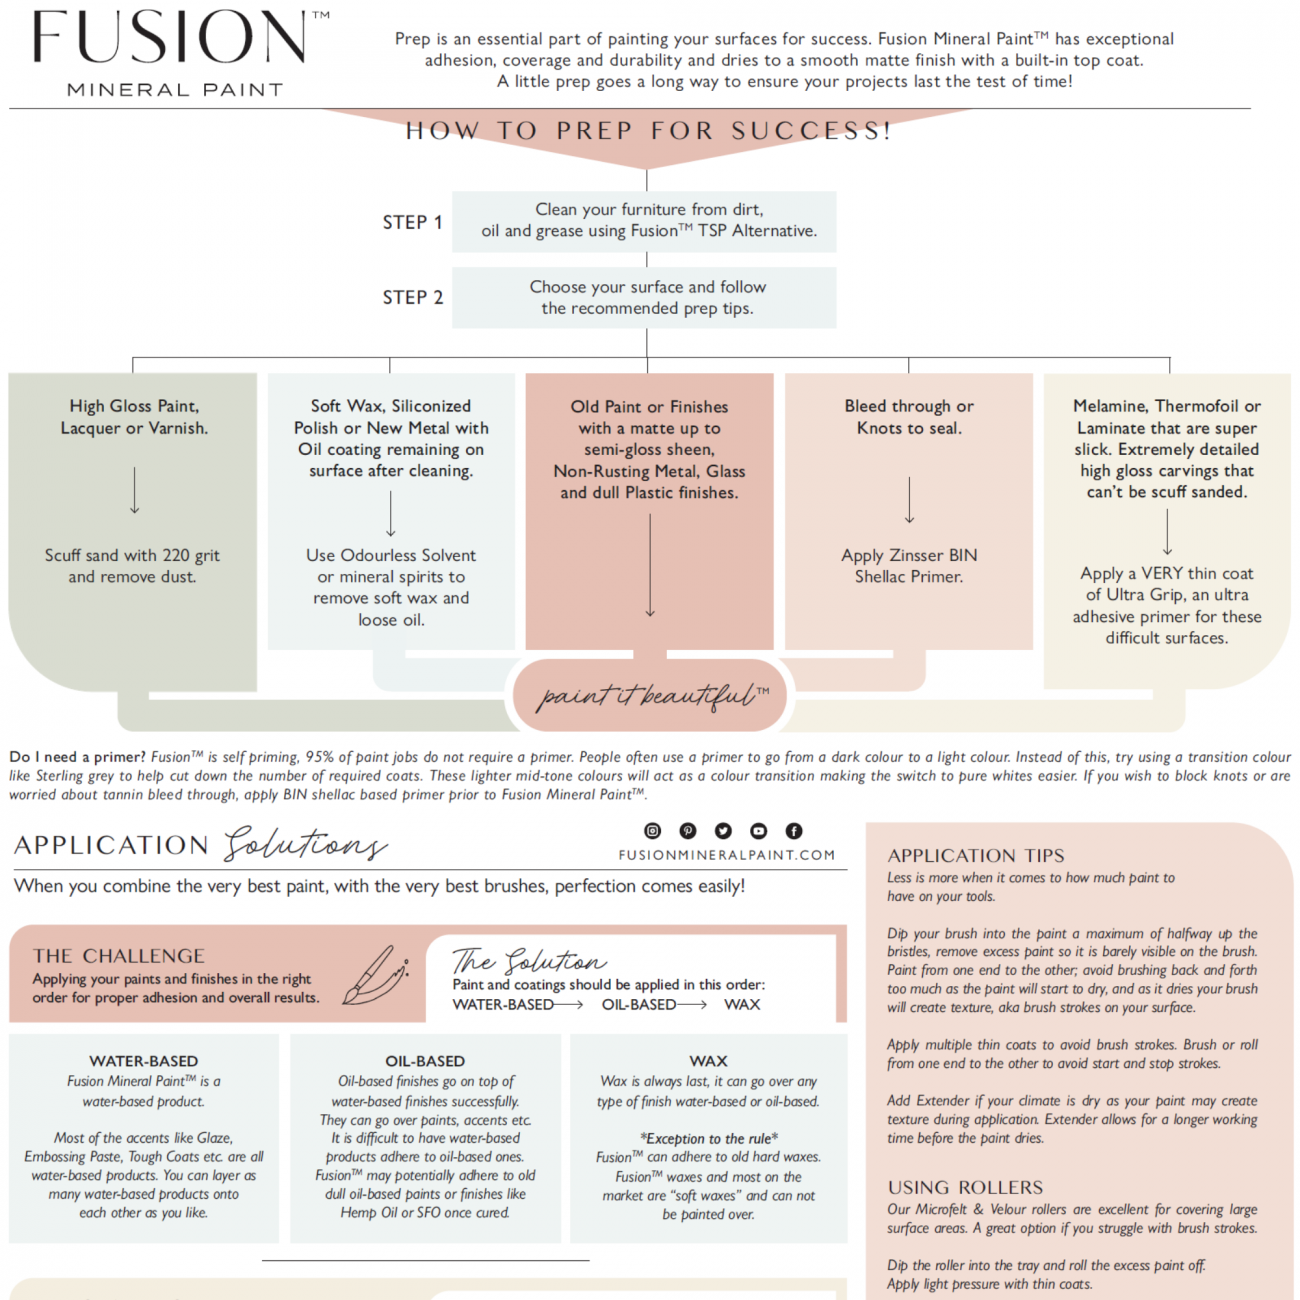
Step 1 – Remove All High Gloss Coatings
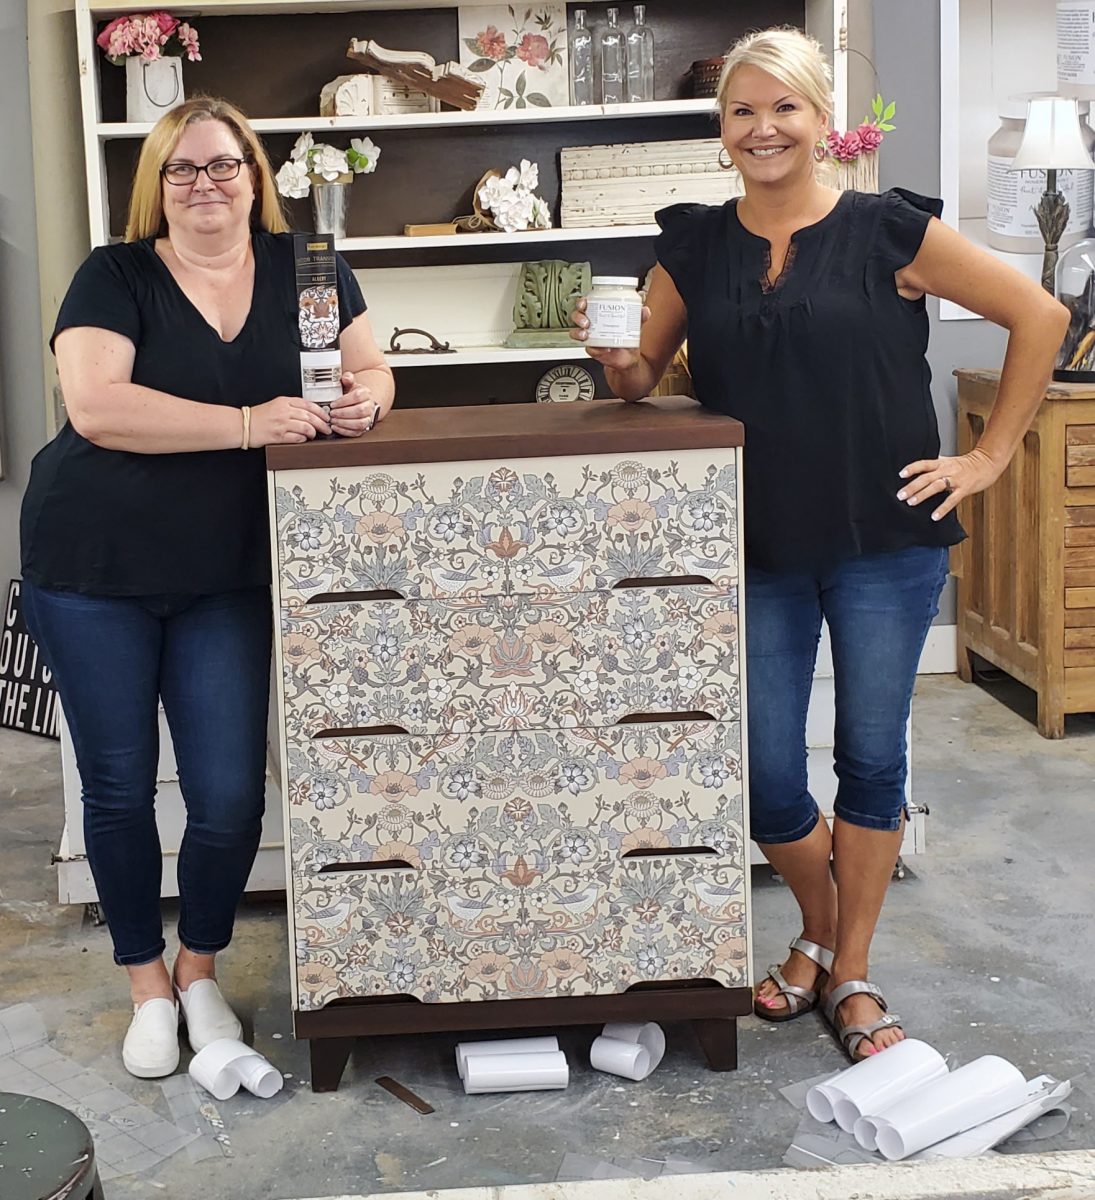
Make sure to remove any gloss or paint with your 220 grit sandpaper. It is important that you allow the paint to adhere properly to the wood by opening up the pores. See the DIY Dresser Makeover- before and after using Fusion Mineral Paint where I transformed a fabulous dresser.
You can think of sanding as basically breaking the surface open. With plenty of microscopic holes in the surface, the Fusion Mineral Paint will be able to adhere to and bind to the surface. Obviously, this doesn’t mean that you will have to sand all day, just a simple 220 grit paper and a light touch will be enough to remove the shine.
Is The Surface Waxy?
If you are painting over a surface that has been sealed with wax,you will need to remove it. To check if it has been sealed with wax, you will need to scratch it with your fingernail and see if there is any build up on it.
It’s important to remember that wax also acts as a resist, meaning that anything you apply over top of it will not cling to the surface. Before painting with any paint, you must remove any wax from the surface as well. It will be necessary to use some sort of Mineral Spirit to remove wax.
As soon as you are satisfied that the surface has been scuffed with a light sanding, any preexisting wax has been removed, and you have a dust-free stable surface you are ready to start painting! In a matter of minutes this process will guarantee your success 100%. Your results are guaranteed by this process.
Step 2 – Use a Cleaning Solution
In case you did not clean and remove the excess dust and dirt, this will be painted over and trapped within the coating, leaving an imperfection on the surface.
You will always find that when you come to any of my BYOP Paint Workshops I have you wipe down your pieces thoroughly with TSP Alternative beforehand. The process ensures that your piece is clean and free of dirt and grime, so that you can go to work with a clean canvas on which to work.
Step 3 – Apply Ultra Grip – If Needed
With Fusion Mineral Paint, you can pretty much paint on anything. This ultra-grip works well on all types of glass, plastic, laminate, metal, and ceramic materials.
Surfaces such as laminates and high gloss lacquers make it almost impossible to paint over them with any type of paint. Fusion Ultra Grip is an acrylic primer that provides superior adhesion and is made of 100% pure acrylic resin, making it possible to paint on these surfaces.
Step 4 – Apply Transition If Needed
With the use of recycled pigments, Transition creates a high concealing coverage. The purpose of this product is to allow you to go from a dark color to a light color in fewer coats of regular Fusion Mineral Paint.
In our water treatment facility, we have leftover pigments from the process of making paint. The environmentally responsible thing to do would be to reuse these pigments rather than tossing them away. The paint is reconstituted into a usable product again.
As it uses recycled pigments, Transition does not offer the same adhesion or durability as Fusion Mineral Paint, but it’s approximately 50% cheaper! The Transition is not a primer, nor does it seal or block resin or tannin bleed through. It is to be used on prepared surfaces. For bleed through concerns, use a Zinsser BIN shellac-based primer.
Using Transition in a sandwich technique with Fusion Mineral Paint will yield the best results. Transition should only be applied once. This is ideal for painting dark wood with lighter colors. Due to the unique nature of each batch, shade variations will occur. Neutral light greys will always be present, however. Not only will you save time, but you will also save money with this product.
Step 5 – Distress the Surface with the Beeswax Stick if Needed
It is important to prepare your piece before you start painting to achieve the distressed look. Use your beeswax stick to apply on areas where you don’t want your paint to adhere. You can now pick out your favorite Fusion Color and start painting.

Step 6 – You Are Done!
Fusion has a built-in top coat. If you want extra protection then either add wax to the area or seal it in with hemp oil in order to make all your hard work last. You may want to seal your piece utilizing Tough Coat instead of the wax or hemp oil if your piece of furniture is going to be used heavily like a dining room table or kitchen cupboards.
With Beeswax Finish, you can have a completely natural wax that is food safe as well as a fantastic top coat to enhance the sheen of the surfaces you would like to enhance. There is nothing better than the smoothness and increased sheen that wax adds to a piece.
Applying Tough Coat
Our exclusive coating, Tough Coat, is a clear, non yellowing hard top coat made from 100% acrylic with a semi-gloss finish and comes in Matte and Gloss. Since your tabletops and your kitchen cabinets will be in direct contact with it most of the time, it is especially formulated for these surfaces.
Typically you will not need a topcoat on most of your projects, however adding a layer of protection will certainly increase the longevity of certain types of projects, such as Kitchen Cabinets, Table Tops etc. because they have a high level of traffic. By adding layers, and allowing the right amount of curing time in between, your surface will be able to withstand more wear without sustaining damage.
If you do not want to use a top coat on your Fusion Mineral Paint, you can simply wash the paint if there are any marks left behind by high traffic. You can always do small touch-ups if necessary down the road just as you would with any paint.
Due to the 100% acrylic’s waterproofing properties, it creates a surface that doesn’t require a top coat for everyday maintenance and permanence against moisture and water. You can expect it to maintain excellent durability over time without brittleness or cracks.
Grab your Prep To Finish Printable and your favorite brush and get started!
I wish you many happy hours of painting in the future!


One Response
Hello, Gaynelle. I am about to begin a small project with paint I got from your booth. I searched to see if water clean up is suggested. I find options about brush clean up is elusive, other than to buy Fusion brush cleaner. Do you know if buying another product is the only way?
Thanks for your help.
Toni Skinner